I have a GE Profile Café Coffee Maker (model P7CGAAS2T1SS) — a beautiful machine with a built-in grinder, bloom pre-infusion, and a touchscreen display. It connects to GE's SmartHQ app, which means it should be controllable from Home Assistant. The catch: the existing GE Home integration only exposed a handful of read-only sensors for this appliance. You couldn't actually start a brew.
I spent some time reverse-engineering the SmartHQ API and built a fork of the ha_gehome integration that adds full brew control. Here's how to install it.
What this gives you
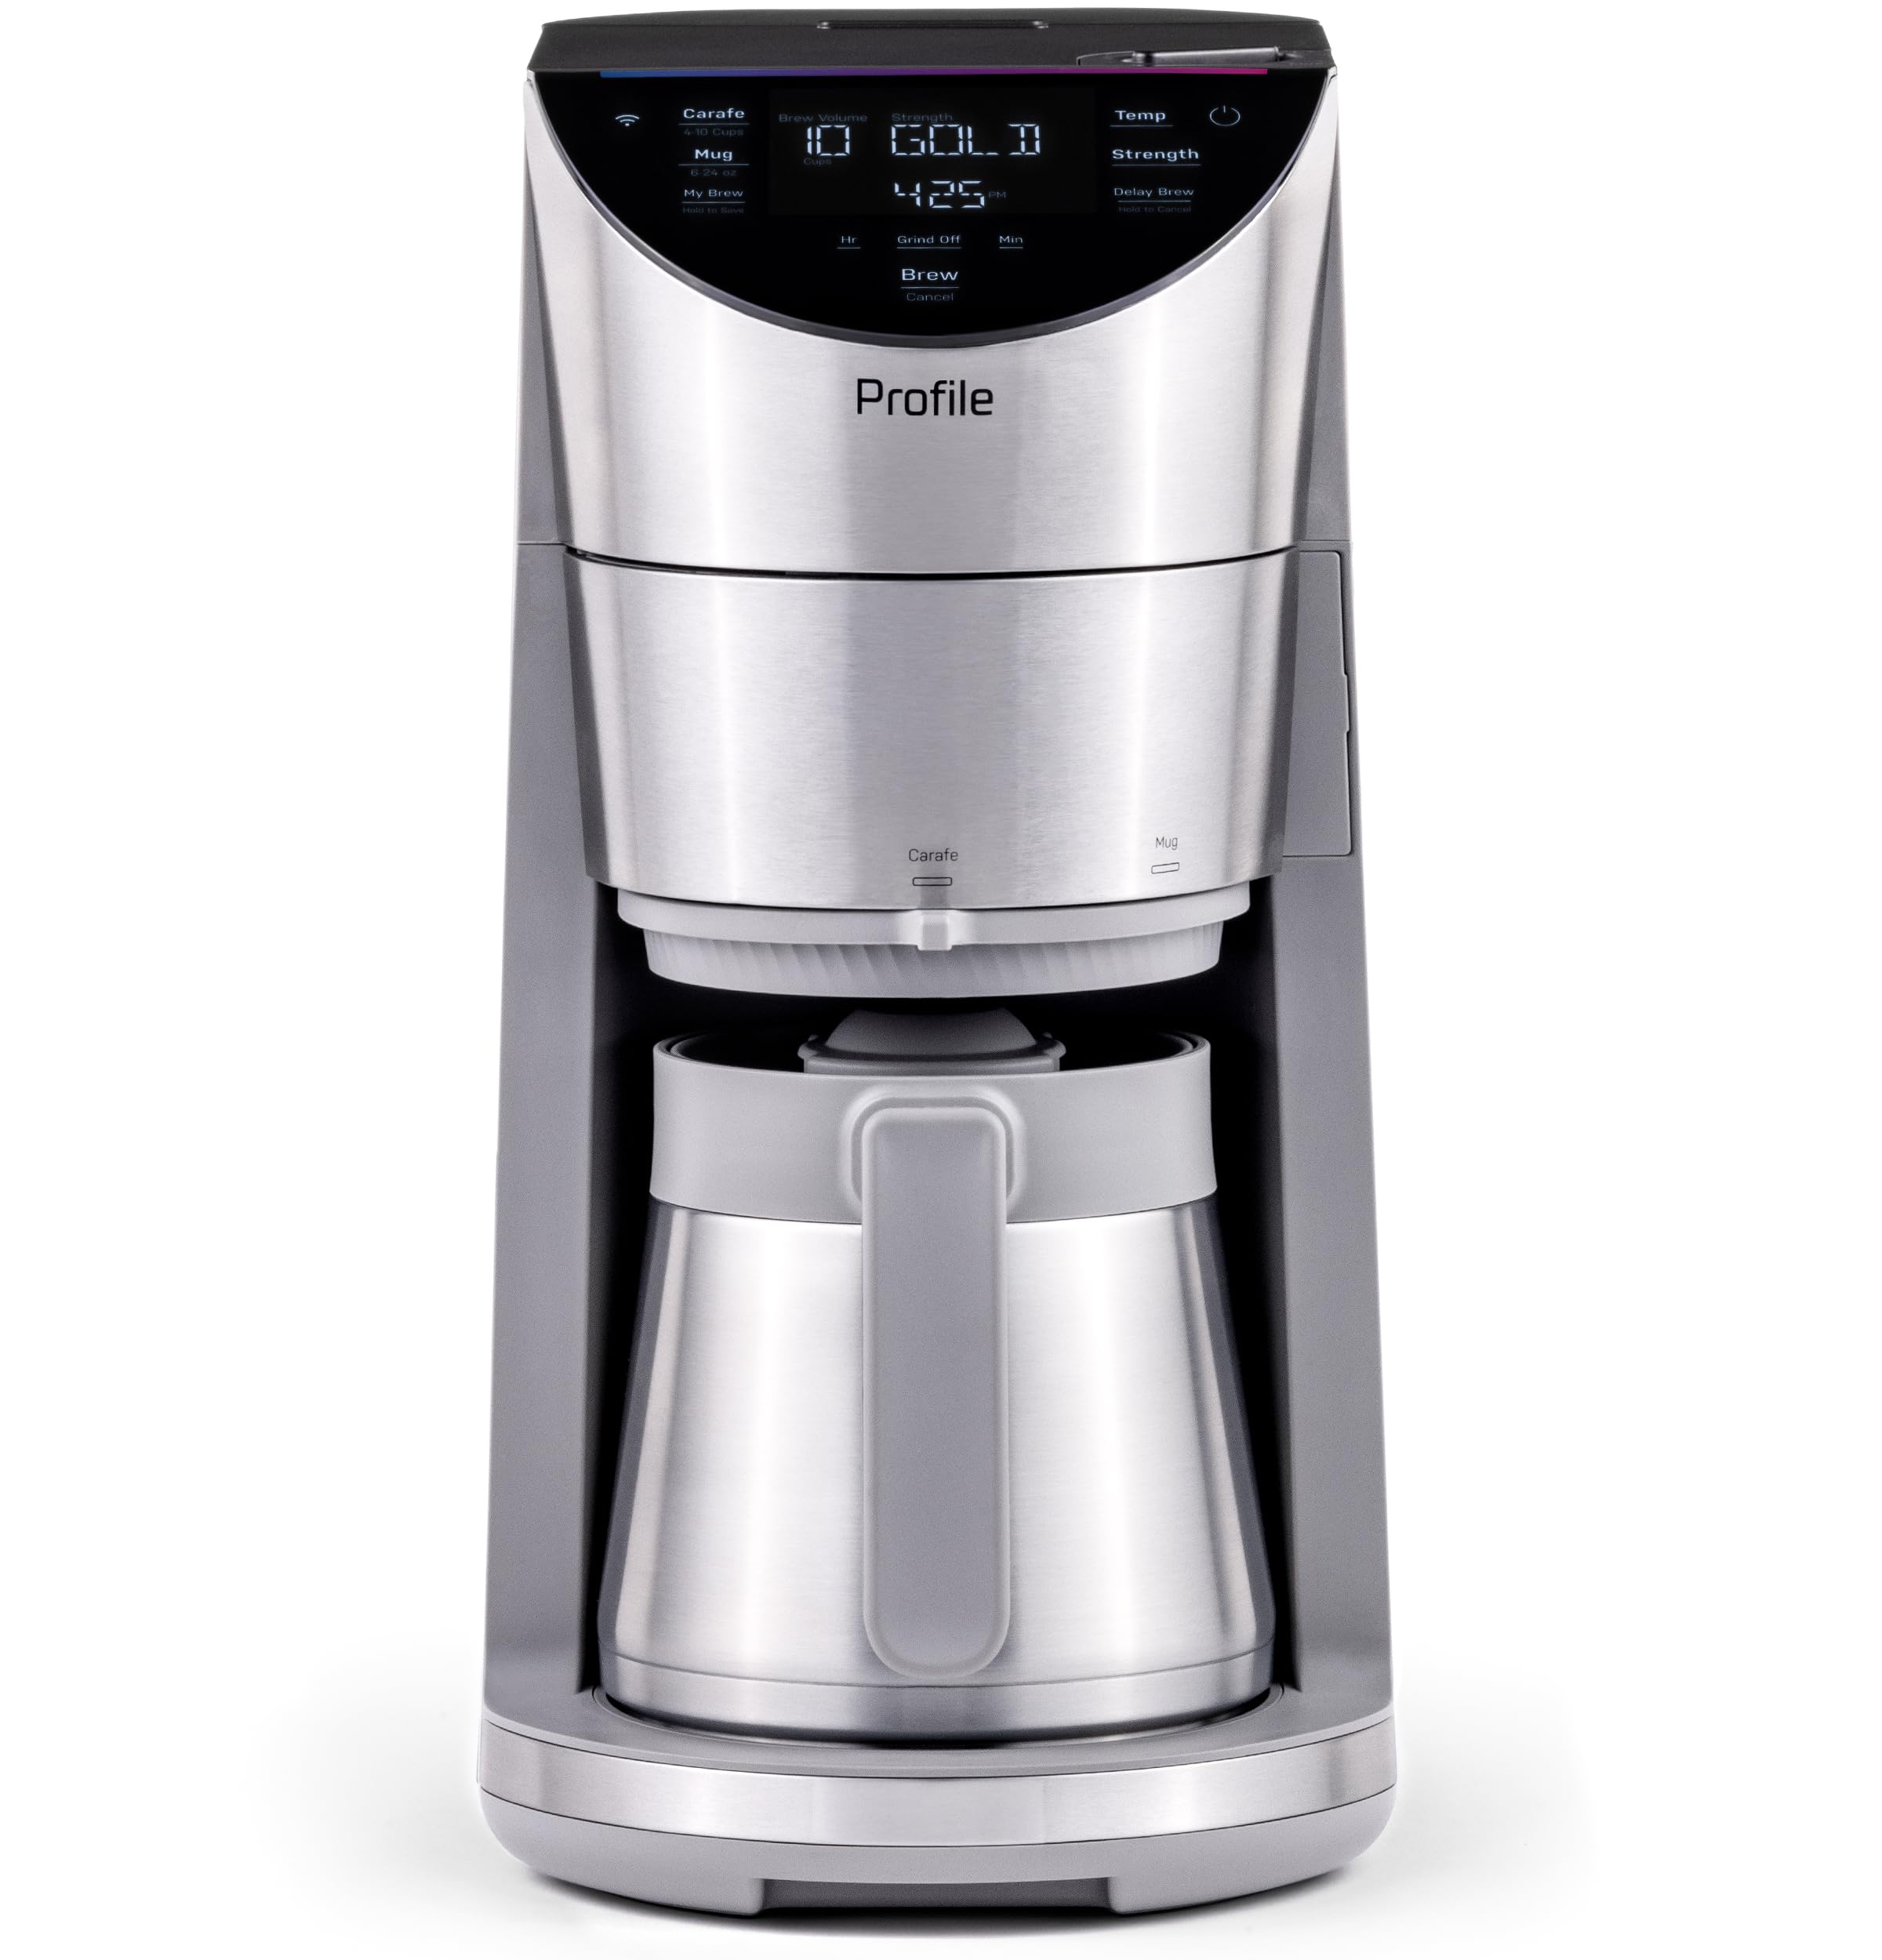
Brew control entities
- Brew Mode — Carafe or Mug
- Brew Strength — Light, Medium, Bold, or Gold (SCAA Gold Cup preset)
- Brew Temperature — 185–205 °F slider
- Carafe Cups — 4 to 10 cups
- Mug Size — 6 to 24 oz
- Bloom Time — 5–30 seconds in steps of 5 (disabled when Gold is selected)
- Grind Time Delta — -2 to +3 seconds adjustment (disabled when Gold is selected)
- Use Grinder — switch to brew with pre-ground coffee
- Start Brew — button to trigger the brew
Status sensors
- Brewing, Descaling (binary sensors)
- Out of Water, Out of Beans (binary sensors)
- Carafe Missing, Empty Brew Basket (binary sensors)
- Water Temperature (sensor)
All brew settings persist across HA restarts — your last settings are restored automatically.
Prerequisites
- Home Assistant (any recent version)
- HACS installed
- Your GE Profile Café Coffee Maker connected to the SmartHQ app and on your Wi-Fi network
- Your SmartHQ account credentials (the email and password you use to log in to the SmartHQ app)
Installation
Step 1 — Add the custom repository to HACS
- In Home Assistant, go to HACS → Integrations.
- Click the three-dot menu (⋮) in the top-right corner and choose Custom repositories.
- In the Repository field enter:
https://github.com/smallizmo/ha_gehome - Set Category to Integration and click Add.
- Search for GE Home (SmartHQ) in HACS, click it, and choose Download.
- Restart Home Assistant.
Already have the GE Home integration installed? Remove it first via HACS, then follow the steps above to install this fork. Your SmartHQ credentials will need to be re-entered but all your automations targeting entity IDs will continue to work — the entity IDs are unchanged.
Step 2 — Add the integration
- Go to Settings → Devices & Services → Add Integration.
- Search for GE Home and select it.
- Enter your SmartHQ email address and password when prompted.
- Click Submit. HA will connect to SmartHQ and discover your appliances.
Your coffee maker will appear as a device. All the brew control and status entities are created automatically — no YAML configuration required.
Using it
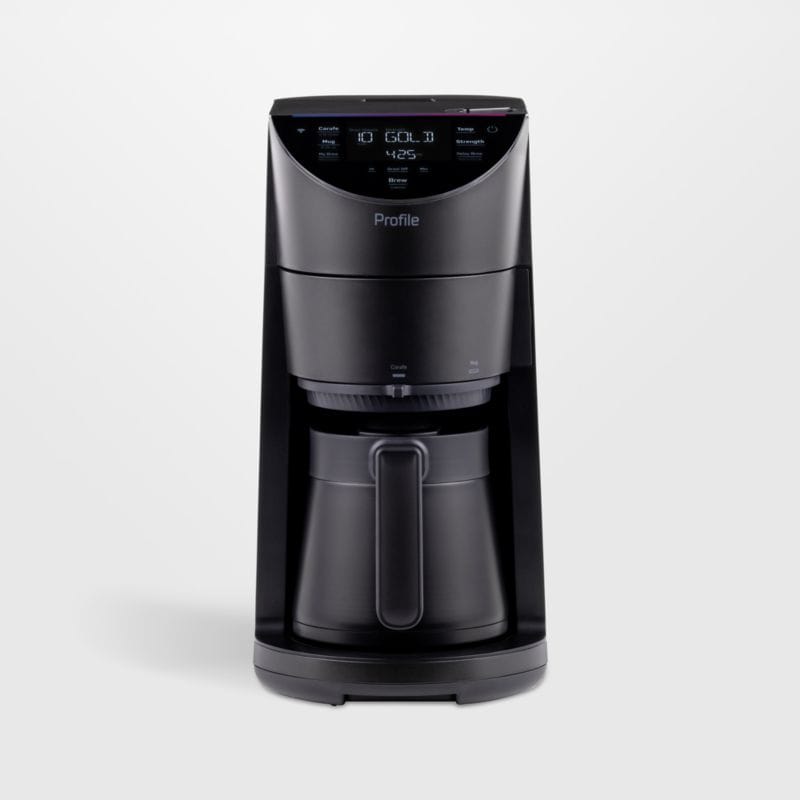
The entities show up in the device page under Settings → Devices & Services → GE Home. The brew control entities are in the Configuration section; the status sensors are in Diagnostics.
To start a brew from a dashboard card or automation:
- Set your desired Brew Mode, Strength, Temperature, and volume.
- Press Start Brew.
The Bloom Time and Grind Time Delta controls automatically grey out when Gold strength is selected — the Gold Cup preset uses fixed parameters.
Automation ideas
- Morning coffee — trigger Start Brew from an alarm clock automation so your coffee is ready when you wake up.
- Out of beans alert — send a notification when the Out of Beans sensor turns on.
- Empty basket reminder — trigger a phone notification when the Empty Brew Basket sensor activates after a brew cycle.
- Voice control — expose the Start Brew button to Alexa or Google Assistant via HA's voice assistant integrations.
Example automation (YAML)
automation:
  alias: "Morning coffee"
  trigger:
    - platform: time
      at: "06:45:00"
  condition:
    - condition: state
      entity_id: input_boolean.weekday_coffee
      state: "on"
  action:
    - service: select.select_option
      target:
        entity_id: select.cafe_coffee_maker_brew_mode
      data:
        option: Carafe
    - service: select.select_option
      target:
        entity_id: select.cafe_coffee_maker_brew_strength
      data:
        option: Gold
    - service: button.press
      target:
        entity_id: button.cafe_coffee_maker_start_brew
How it works (the nerdy bit)
The original GE Home integration communicates with appliances over a WebSocket connection to api.brillion.geappliances.com, reading and writing ERD (appliance data) codes in real time. For most appliances this works fine for control — but for the Café Coffee Maker, sending a brew command via that endpoint returns "invalid command specified."
After some investigation I found that this appliance generation requires the SmartHQ Digital Twin API (client.mysmarthq.com/v2/command) — a completely separate REST service. The brew command, strength, temperature, volume, bloom time, and grind adjustment are all sent there as a JSON payload. Status fields like Out of Beans and Empty Brew Basket are also only available via this API (no ERD codes exist for them), so those sensors poll every two minutes.
Links
- Fork on GitHub
- Original ha_gehome integration by @simbaja
- Upstream issue tracker — I've filed an issue proposing these changes be merged
If you run into any problems or have a different GE coffee maker model, feel free to open an issue on the GitHub repo.